

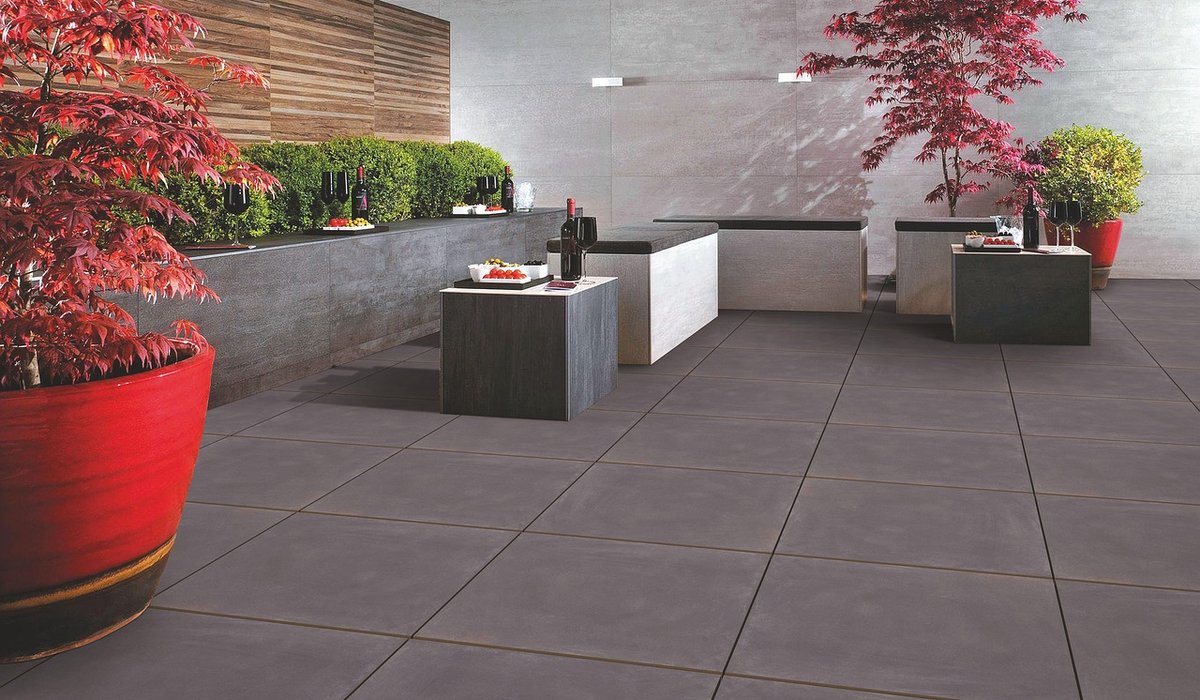
Why Repair Rather Than Replace the Whole Patio
A single cracked or loose patio slab can be a real eyesore. It might wobble underfoot, collect water, or spoil the look of an otherwise neat garden. But before you plan a full patio renovation, take a breath. In most cases, you can repair the damage without disturbing the surrounding paving. This saves money, time, and a great deal of backache. Loose slabs often result from localised movement in the sub-base, frost heave, or a weak spot in the original mortar bed. Cracks can appear from a heavy impact or repeated freeze-thaw cycles. Repairing the offending slab restores safety and appearance while leaving the rest of your patio undisturbed. Always tackle repairs in dry weather with temperatures above 5°C, as mortar needs mild conditions to cure.
Assessing the Damage and Gathering Your Tools
Start by testing the slab. Tap it firmly with the handle of a trowel or a rubber mallet. A hollow sound suggests the slab has come away from its bed. If it moves when you step on it, it is definitely loose. For cracks, examine the extent. A hairline crack might be cosmetic, but if the slab is cracked through or crumbled at the edges, replacement is usually best. If the slab is intact but loose, you can lift and re-bed it. If it is broken, you will need a matching replacement.
Gather your tools and materials before you begin. You will need:
- Safety gear: gloves, safety glasses, and a dust mask.
- Lifting tools: bolster chisel, club hammer, cold chisel, and a plugging chisel or old wood chisel.
- Mixing and laying: bucket, mixing tub, pointing trowel, margin trowel, spirit level, rubber mallet, and spacers.
- Cleaning: stiff brush and scraper.
- Materials: sharp sand, cement, SBR bonding agent, replacement slab, and jointing compound.
If you cannot find an exact match, consider a contrasting slab as a feature, or check reclamation yards.
Lifting the Damaged Slab Without Disturbing Its Neighbours
The key to a tidy repair is patience. Do not simply smash the slab out. First, remove the pointing around the damaged slab. Use a plugging chisel or an old wood chisel and a hammer to scrape out the mortar from the joints. Work along all four sides. This reduces the risk of chipping adjacent slabs when you lift the damaged one.
Next, position a bolster chisel at one corner, angled downwards into the joint. Strike the end with a club hammer. Work around the slab, gently levering it up. If the slab is stubborn, use a piece of timber as a lever under the edge. For a cracked slab that is breaking apart, break it into smaller pieces with the bolster and hammer. In that case, protect the neighbouring slabs with hardboard or plywood before you strike. Once the slab is out, scrape away all old mortar from the base and from the edges of the surrounding slabs. Clear the joint of debris.
Preparing the Base for a Solid, Lasting Repair
With the old slab removed, inspect the sub-base. If it feels soft or has sunk, dig out the loose material and compact it with a whacker plate or hand tamper. Add fresh hardcore if needed and compact again. A firm, level sub-base prevents the new slab from rocking.
Mix your bedding mortar. A good ratio is 4 parts sharp sand to 1 part cement, or 5:1 for a weaker mix. Add SBR bonding agent to the mixing water. You want a semi-dry mix: when squeezed, it holds shape without dripping. Spread the mortar to a depth of 30–40mm. Make it slightly higher than the surrounding slabs, then compact lightly. Check the level with a straight edge and spirit level across the adjacent slabs. Adjust until the new bed sits just proud of the surrounding paving.
Re-bedding and Levelling the Replacement Slab
For an intact but loose slab, clean off all old mortar from its underside. For a new slab, check it matches the thickness and colour of existing paving. Lower the slab gently onto the mortar, using spacers to maintain a consistent joint width – usually 10–15mm. Press down and tap with a rubber mallet to settle it.
Check the level in all directions: across the slab, along the joints, and diagonally. The new slab should sit flush with its neighbours. If too high, lift and remove a little mortar. If too low, add more. Work quickly, as mortar begins to set. Once happy, work some mortar into the joints from the top with a pointing trowel. Leave to set for at least 24 hours.
Finishing the Joints and Aftercare
After 24 hours, remove the spacers. The mortar should be firm but not fully cured. Now point the joints. Use a traditional mortar mix of 4 parts sharp sand to 1 part cement with a plasticiser, or a ready-mixed jointing compound. Apply with a pointing trowel or mortar gun, pressing it firmly into the gaps. Tool the joint to a smooth, concave or flush finish. Brush off excess before it dries.
Keep foot traffic off the area for 24–48 hours. In hot, dry weather, mist the joints with water to slow curing and prevent cracking. Avoid frosty conditions. Once cured, your repaired slab will be as solid as the rest. Regular sweeping and occasional weeding will keep it looking its best. With a little care, this repair will last for years, saving you the cost and disruption of a full patio replacement.


Coding is used in almost all aspects of life and work now, be it directly or indirectly. It’s not just for companies in the tech sector. “An increasing number of businesses rely on computer code,
Coding is used in almost all aspects of life and work now, be it directly or indirectly. It’s not just for companies in the tech sector. “An increasing number of businesses rely on computer code,
Coding is used in almost all aspects of life and work now, be it directly or indirectly. It’s not just for companies in the tech sector. “An increasing number of businesses rely on computer code,