

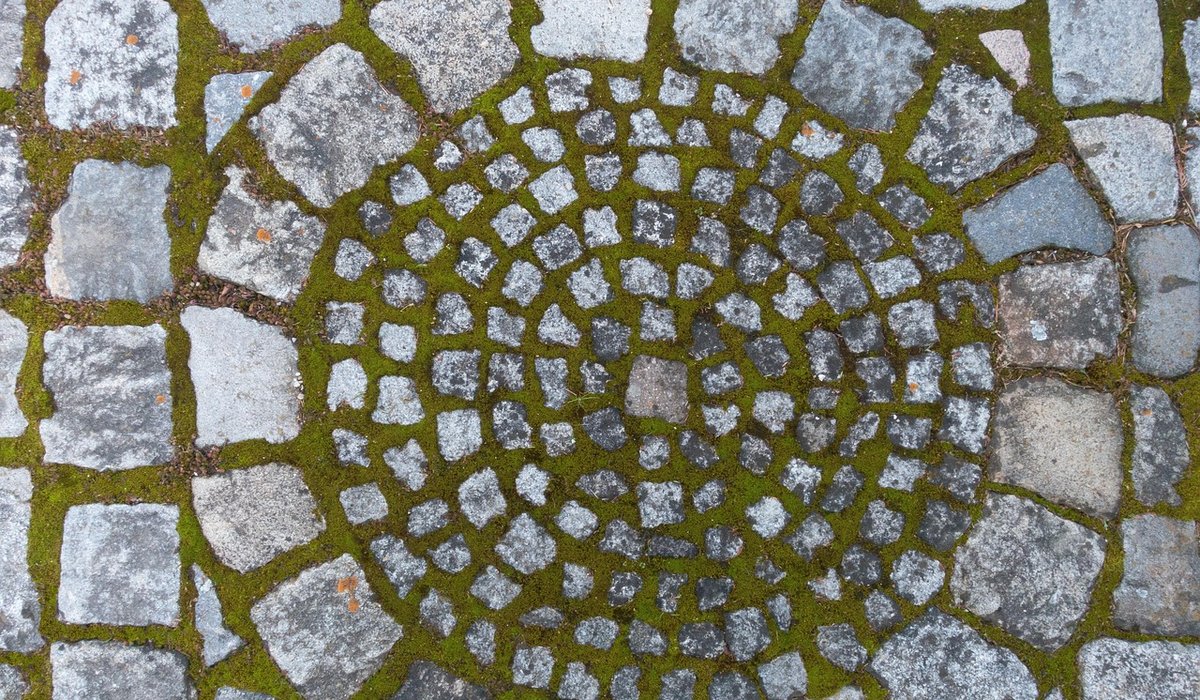
Why a Circular Patio Is Worth the Extra Effort
A round patio does something a rectangular one can't: it softens the garden. Straight edges fight against planting, while a curve invites furniture to sit naturally, leads the eye around the space and makes even a modest plot feel considered. The catch is that you can't simply buy a circle and plonk it down. You need a plan, a central datum and a steady hand with a disc cutter.
The good news is that the hardest part isn't the cutting — it's the setting out. Get your centre point and radii right and the rest follows logically. This guide walks you through laying a circular patio using cut slabs, from marking the circle to pointing the finished surface.
Setting Out the Circle and the Central Datum
Everything hangs off one fixed point. Drive a stout wooden peg into the ground roughly where the middle of the patio will sit, then check it against the house, boundaries and any doors or steps it needs to serve. Once you're happy, treat that peg as your datum and don't move it.
From the peg, run a string line with a can of marking paint or a length of sand to scribe your outer radius. For a typical four-seater dining set you want at least 2.7m across, ideally 3m or more, so you have room to push chairs back without tipping onto the soil.
- Mark the outer edge of the paving, not the sub-base — the slabs and their bedding sit inside that line.
- Allow a 100–150mm margin outside the paving for a soldier course, edging or a gravel haunch.
- Scribe a second, inner circle for any central feature such as a small tree, a birdbath or a contrasting ring of setts.
- Spray the lines with marker paint and re-check them the next morning before you dig.
Building the Sub-Base and Getting It Level
Excavate 150–200mm inside your outer line, plus a little extra for the edging. For a pedestrian patio, 100mm of compacted MOT Type 1 is normally plenty; increase it to 150mm if the patio will take a hot tub, a heavy planter or regular vehicle access.
Layer the Type 1 in two passes, watering and compacting each one with a plate compactor. Work around your datum peg rather than over it — or better, replace the peg with a slim steel pin you can leave in place while you compact. Check levels with a spirit level and a straight edge across the circle, and use a string line from the centre to confirm you're maintaining a consistent fall of about 1:60 away from the house for drainage.
Finish with 30–40mm of sharp sand, screeded to a shallow dome so the finished patio sheds water outward without looking like a saucer.
Cutting Slabs for a Clean Curve
This is where a circular patio earns its keep. You have two sensible approaches: a ring of rectangular slabs laid in a running bond and cut to the radius, or a kit-style design with tapered units around a central feature. The first is far cheaper and, with care, looks superb.
Set out the whole circle dry before you cut anything. Lay the slabs from the centre outward in concentric rings, keeping the joints tight and consistent. Where a slab crosses your scribed line, mark the cut with a pencil or a wax crayon, allowing for a 10–12mm joint.
- Use a petrol disc cutter with a diamond blade for clean, fast cuts on concrete and sandstone.
- Cut wet or wear a proper dust mask — silica dust is the real hazard here, not the noise.
- Support the offcut side so the slab doesn't snap as the blade exits.
- For tight curves, nibble in several shallow passes rather than one deep plunge.
- Keep a rubber mallet and a bolster chisel nearby for tidying awkward edges.
Cut the outer ring last. By then the inner rings are fixed, so you can trim each edge slab to the scribed line and lay a soldier course or a row of setts around the rim to hide the cut faces.
Laying, Levelling and Pointing
Bed each slab on a full mortar mix of five parts sharp sand to one part cement, mixed stiff enough to hold a ridge without slumping. Tap the slab down with a rubber mallet and check it against neighbouring slabs with a straight edge — a slight wobble now will be a trip hazard later.
Work outward from the centre in rings, keeping the joints consistent. Once all slabs are down and firmed, leave the mortar to cure for at least 24 hours before pointing.
For joints, a brush-in polymeric or resin mortar is the easiest route for a curved patio, because it flows into the tapering gaps without needing a trowel. Push it in with a pointing iron or a squeegee, compact it, and sweep the surface clean before it sets. On a dry day it will be firm within a few hours and fully cured in 24–48 hours. Keep foot traffic off and cover the patio if rain is forecast.
Details That Make the Curve Sing
A circle is only as good as the things around it. Finish the outer edge with a soldier course, granite setts or a low brick kerb bedded on concrete so the paving can't creep outward over time.
Planting should follow the curve, not ignore it. A crescent of lavender, alchemilla or low grasses just outside the edging softens the transition to lawn. Leave a planted gap of at least 300mm between the patio edge and any shrub so roots don't lift slabs.
Finally, consider a small central feature — a sundial, a clipped box ball in a pot, or a contrasting ring of dark setts — to give the eye somewhere to land. Done well, a circular patio becomes the calm centre of the garden rather than just another flat surface.


Coding is used in almost all aspects of life and work now, be it directly or indirectly. It’s not just for companies in the tech sector. “An increasing number of businesses rely on computer code,
Coding is used in almost all aspects of life and work now, be it directly or indirectly. It’s not just for companies in the tech sector. “An increasing number of businesses rely on computer code,
Coding is used in almost all aspects of life and work now, be it directly or indirectly. It’s not just for companies in the tech sector. “An increasing number of businesses rely on computer code,