

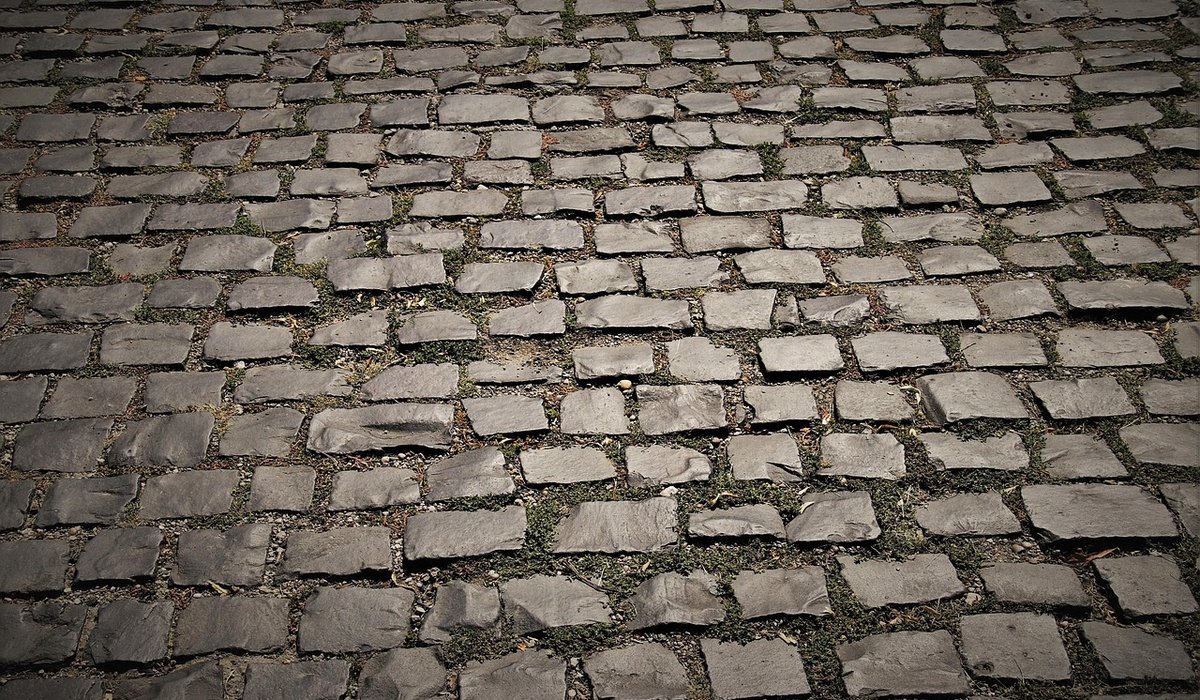
Why Brick Setts Earn Their Place in the Garden
Few hard-landscaping materials age as gracefully as clay brick setts. Laid well, they develop that mellow, slightly irregular look that takes decades off a new garden, and they shrug off the British climate in a way that many cheaper alternatives simply cannot. Setts are the small rectangular blocks — most commonly 200 x 100mm, and 50mm or 65mm thick — that were once the standard surface for carriageways and yards up and down the country.
For garden walkways, a 50mm sett is usually plenty. Choose 65mm if you plan to run a wheelbarrow, a mower or the occasional car over the path. Look for setts that meet the relevant European standard for clay pavers, as this confirms the density and frost resistance you are paying for. A dense, well-fired clay sett will hold its colour, resist efflorescence and survive freeze-thaw cycles that would crack softer concrete products.
Setting Out, Levels and Groundwork
Everything that follows depends on this stage, so take your time. Paths should have a fall of roughly 1:60 to 1:80 away from the house — that is about 12 to 16mm of drop per metre — so surface water runs off without the slope feeling noticeable underfoot.
As a rule of thumb, dig out to allow for:
- 75–100mm of compacted Type 1 sub-base for a pedestrian path (more if the ground is soft or a vehicle will use it)
- 30–40mm of bedding material
- The thickness of the sett itself
In practice that means excavating around 200mm below the finished level, allowing for about 20 per cent compaction loss on the sub-base. Compact the Type 1 in two layers with a plate compactor, and check the levels with a straight edge and spirit level as you go. A weed membrane over the sub-base is cheap insurance, particularly if you have bindweed or ground elder nearby.
Laying on a Sand Bed: The Flexible Approach
This is the traditional method and the one most suited to garden paths. Use sharp, gritty sand — often sold as grit sand or concreting sand — rather than soft builders' sand, which holds too much water and shifts underfoot. Screed the sand to a consistent 30–40mm depth, working in short runs of a metre or so and never walking on finished screed.
Lay each sett tight, with joints of 2–3mm, tapping it down with a rubber mallet rather than a metal hammer. Work off the laid setts as you progress, and keep checking the fall with a long straight edge. Once an area is complete, run a plate compactor over it with a rubber mat or a board in place to protect the surface.
Then brush kiln-dried sand into the joints, compact again, and top up. Repeat until the joints will take no more. The joints are what lock the whole surface together, so this step is not optional.
Edge restraint is the single most common reason sand-laid paths fail. Without a solid edging — setts laid on a concrete haunch, clay or concrete kerbs, or a timber edge pinned securely — the path will spread, the joints will open and the whole thing will unravel within a couple of winters.
Laying on Mortar: When Rigid Is the Right Choice
Sometimes a flexible bed will not do: a steep ramp, ground that heaves with tree roots, heavy footfall at a gateway, or a design where a concealed edge restraint is impossible. Here, a mortar bed is the answer.
Use a semi-dry mix of four or five parts sharp sand to one part cement, laid 25–40mm thick. A slurry bond coat brushed onto the back of each sett will help it grip. Point the joints as you go with a slightly wetter mortar, or leave them and gun in a jointing mortar later. On longer runs, introduce movement joints at roughly six-metre intervals and where the path meets a wall or step. Avoid laying in genuinely frosty weather, and protect fresh mortar from rain for the first day.
Patterns, Cutting and Finishing Details
Pattern matters more than most people expect. A 45-degree herringbone is the strongest configuration because the setts interlock in every direction, which is why it suits paths that see vehicles. Stretcher bond gives a calmer, more modern feel, while basketweave works well in small courtyards and as a border to a larger area.
Herringbone generates more cuts, so plan your setting out on paper and dry-lay a few square metres before committing. For straight cuts, a disc cutter with a water feed gives the neatest result; a bolster chisel and club hammer will do for the odd one or two. A single soldier course along each edge, laid at right angles to the main pattern, frames the path beautifully and hides small setting-out errors.
Keeping a Sett Path Looking Sharp
Maintenance is refreshingly light. Top up the joints with kiln-dried sand every few years, or sooner if you notice them hollowing out. Sweep regularly, and deal with weeds promptly — a stiff brush and a hand hoe are usually enough, and they are far kinder to the surface than a hard pressure-washing, which can blast the jointing sand out and leave the setts looking washed out.
Efflorescence — that white, salty bloom — is common on new clay and generally disappears on its own within a few months. A breathable sealer applied to a thoroughly dry surface will deepen the colour and make cleaning easier, but it is a choice, not a requirement. In winter, use sand or grit rather than rock salt, which can attack the surface over time.
Looked after this way, a sett walkway will outlast most of the planting around it — and look better with every passing year.


Coding is used in almost all aspects of life and work now, be it directly or indirectly. It’s not just for companies in the tech sector. “An increasing number of businesses rely on computer code,
Coding is used in almost all aspects of life and work now, be it directly or indirectly. It’s not just for companies in the tech sector. “An increasing number of businesses rely on computer code,
Coding is used in almost all aspects of life and work now, be it directly or indirectly. It’s not just for companies in the tech sector. “An increasing number of businesses rely on computer code,