

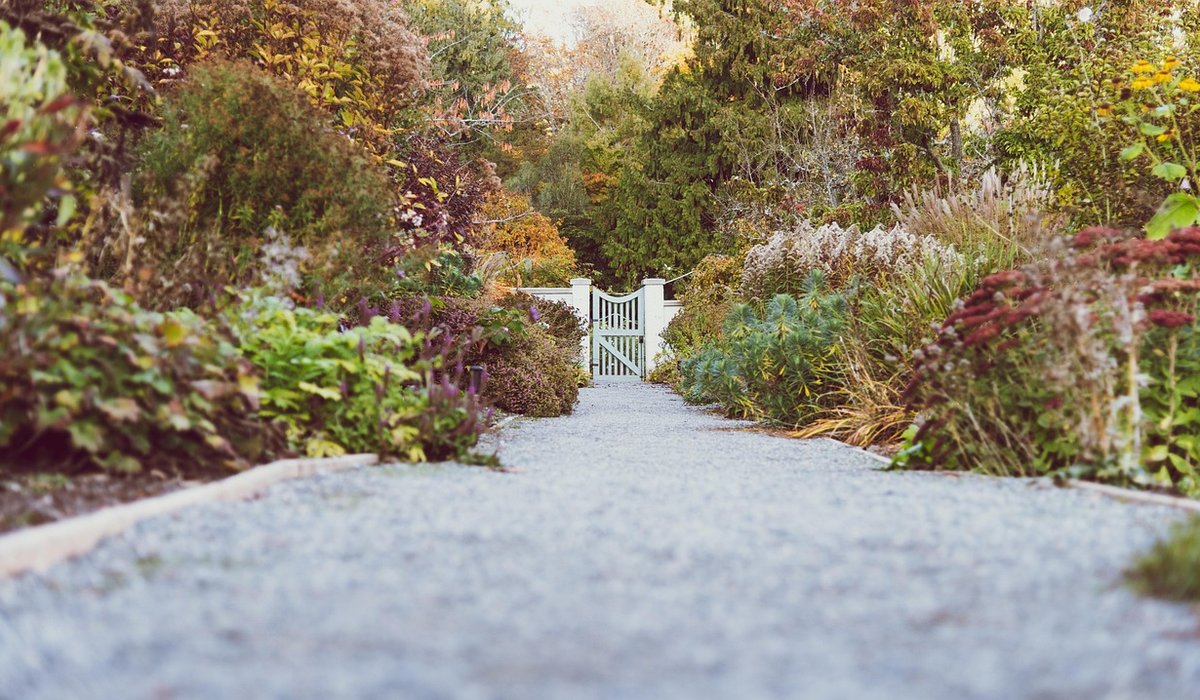
Why Weeds Thrive on Gravel and Paved Paths
Gravel and paving look effortless when they're new, but they're quietly perfect habitats for weeds. Gravel allows water and light through, and every gap between the stones collects a pinch of dust, leaf litter and pollen that becomes a seedbed within a season. Paving is different but no easier: the joints between slabs hold a thin film of soil that never dries out completely, and moss quickly moves in, which traps more moisture and more organic matter. Before long, you have a green speckled path that looks neglected.
The good news is that weed control on hard surfaces isn't about heroic effort. It's about building the path well, keeping the joints tight, and dealing with seedlings while they're still shallow-rooted. Do those three things and you'll spend a few minutes a week rather than a few weekends a year.
Start with the Right Sub-Base and Membrane
Most weed problems on gravel begin underneath it. If you're laying a new gravel path, dig out to around 100mm, compact a layer of MOT Type 1 sub-base, then cover it with a woven geotextile membrane before the gravel goes down. The membrane does two jobs: it stops weeds and grass pushing up from the soil below, and it stops the gravel sinking into the sub-base over time.
- Choose woven geotextile, not solid plastic. Water needs to drain through, or you'll create a soggy path that grows moss on top.
- Overlap membrane sheets by at least 200mm and tuck the edges up against edging boards or kerbs.
- Cut holes only where you need them — for plants, posts or drainage — and keep them as tight as possible.
- Avoid cheap non-woven fleece under gravel; it clogs with silt and stops draining within a couple of years.
If you're working with an existing gravel path, you can still improve things by scraping back the top 30–40mm, laying membrane where it's missing, and topping up with fresh gravel. It's a messy afternoon, but it resets the clock.
Tight Joints and Solid Edging
On paved paths, weeds almost always appear at the joints and along the edges. Wide, sandy joints are an open invitation. Aim for joints of 2–3mm on a mortar-bedded patio, or use a proprietary brush-in jointing compound on a flexible base — these set firm but slightly permeable, and weeds struggle to find purchase.
Kiln-dried sand is the traditional choice for block paving, and it works well if you top it up properly: sweep it in dry, vibrate or tamp it down, then repeat until the joints are genuinely full. A half-filled joint will be colonised within weeks.
Edging matters just as much. An aluminium or concrete edge restraint, set flush and slightly proud of the paving, keeps soil and grass from creeping in from the borders. Run a spade along the edge once a season and lift any turf that has started to bridge across.
Make Sweeping a Habit
A stiff broom is your cheapest weed tool. Seeds need contact with damp organic matter to germinate, and fallen leaves, grass clippings, bird droppings and moss fragments all provide it. Sweeping gravel and paving every week or two — more often in autumn — removes that seedbed before it becomes a nursery.
- Sweep on a dry day so debris brushes out instead of smearing into the joints.
- Rake gravel lightly each spring to break up any crust and redistribute stones.
- Clear moss promptly — it holds water against the surface and encourages more of the same.
- Keep borders cut back so plants don't flop over the paving and drop seed.
If you have a pressure washer, one careful pass in spring will lift embedded dirt from paving joints. Use a fan nozzle, keep the wand moving, and avoid blasting out the jointing sand — you'll only have to refill it. On gravel, skip the pressure washer entirely; it just rearranges the stones.
Remove Seedlings Before They Root Deeply
This is the single most useful habit of all. A weed that's just emerged has a root system measured in millimetres and pulls out with two fingers. Leave it a fortnight and it will have anchored into the sub-base or worked its way under a slab, where removal means lifting paving.
Walk your paths with a hand hoe or a weeding knife every week or so through the growing season. On gravel, a hoe with a narrow blade works best — you're slicing through seedlings rather than digging. On paving, a paint scraper or a wire brush makes short work of moss and tiny weeds in the joints. Do it after rain, when the ground is soft, and you'll get far more of the root out intact.
For established weeds, boiling water poured directly onto the crown is remarkably effective on paving joints and safe for surrounding planting once cooled. A flame weeder works on gravel and between slabs, though take care near dry mulch, timber edging and anything flammable. Spot-treat persistent deep-rooted weeds with a glyphosate-based herbicide on a still, dry day — and always follow the label.
What to Avoid
A few shortcuts do more harm than good. Salt and bleach damage paving, kill nearby plants and leave a residue that looks worse than the weeds did. Pouring weedkiller over the whole path is wasteful and risks run-off into borders and drains. And ignoring a small problem until autumn means hand-pulling turns into lifting slabs.
Beyond that, keep expectations realistic. A gravel or paved path will never be completely weed-free, and a stray seedling here and there is normal. Ten minutes with a hoe and a broom each week is all it takes to keep the surface looking sharp — and to stop a small job becoming a big one.


Coding is used in almost all aspects of life and work now, be it directly or indirectly. It’s not just for companies in the tech sector. “An increasing number of businesses rely on computer code,
Coding is used in almost all aspects of life and work now, be it directly or indirectly. It’s not just for companies in the tech sector. “An increasing number of businesses rely on computer code,
Coding is used in almost all aspects of life and work now, be it directly or indirectly. It’s not just for companies in the tech sector. “An increasing number of businesses rely on computer code,